Land Cruiser URJ200 URJ202 GRJ200 VDJ200 - 1UR-FE LUBRICATION
ENGINE OIL COOLER - REMOVAL
| 1. REMOVE RADIATOR ASSEMBLY |
()
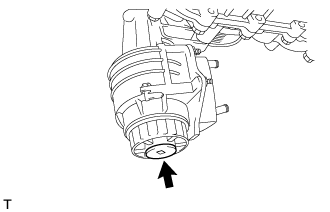
| 2. DISCONNECT COOLER COMPRESSOR ASSEMBLY |

Remove the 3 bolts, nut and stud bolt, and then disconnect the cooler compressor.
- HINT:
- It is not necessary to completely remove the compressor. With the hoses connected to the compressor, hang the compressor on the vehicle body with a rope.
| 3. DRAIN ENGINE OIL |
Remove the oil filler cap.

Remove the 2 bolts and No. 2 engine under cover seal.
Remove the oil pan drain plug and gasket, and drain the engine oil into a container.
Install a new gasket and the oil pan drain plug.
- Torque:
- 40 N*m{ 408 kgf*cm, 30 ft.*lbf}
Install the No. 2 engine under cover seal with the 2 bolts.
- Torque:
- 10 N*m{ 102 kgf*cm, 7 ft.*lbf}
| 4. REMOVE OIL FILTER ELEMENT |
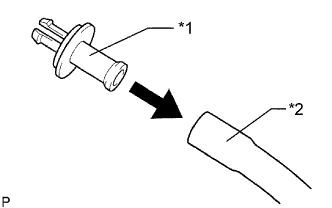
Connect a hose with an inside diameter of 15 mm (0.591 in.) to the pipe.
| *1 | Pipe |
| *2 | Hose |
Remove the oil filter drain plug.
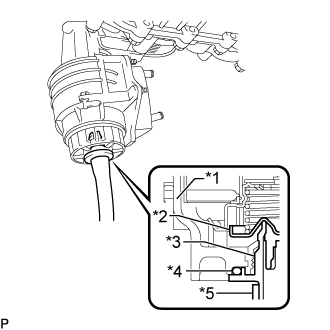
Install the pipe to the oil filter cap.
| *1 | Cap |
| *2 | Valve |
| *3 | Pipe |
| *4 | O-Ring |
| *5 | Hose |
- NOTICE:
- If the O-ring is removed with the drain plug, install the O-ring together with the pipe.
- HINT:
- Use a container to catch the draining oil.
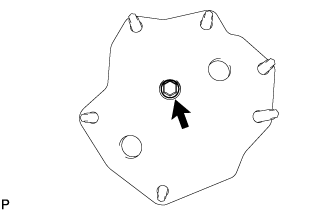
Check that oil is drained from the oil filter. Then disconnect the pipe and remove the O-ring as shown in the illustration.

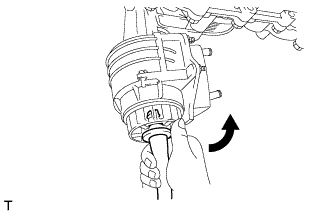
Using SST, remove the oil filter cap.
- SST
- 09228-06501
| *1 | Oil Filter Bracket Clip |
- NOTICE:
- Do not remove the oil filter bracket clip.
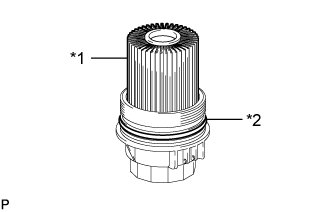
Remove the oil filter element and O-ring from the oil filter cap.
| *1 | Oil Filter Element |
| *2 | O-Ring |
- NOTICE:
- Be sure to remove the cap O-ring by hand, without using any tools, to prevent damage to the cap O-ring groove.
| 5. REMOVE OIL PRESSURE SENDER GAUGE ASSEMBLY |
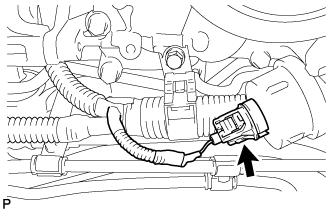
Disconnect the oil pressure sender gauge connector.
Remove the oil pressure sender gauge.
| 6. REMOVE NO. 2 WATER BY-PASS PIPE SUB-ASSEMBLY |
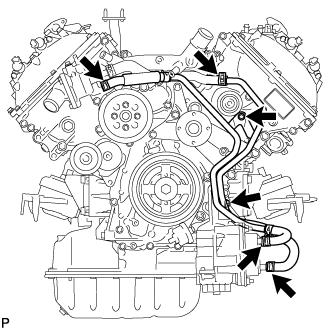
Remove the 2 bolts.
Disconnect the 4 hoses and remove the No. 2 water by-pass pipe.
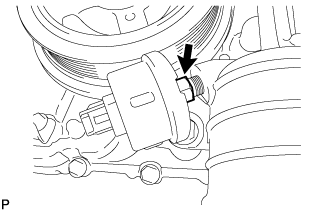
| 7. REMOVE NO. 1 OIL COOLER BRACKET |

Remove the 2 nuts and bracket.
Disconnect the ground wire from the cylinder block.
| 8. REMOVE OIL FILTER BRACKET |
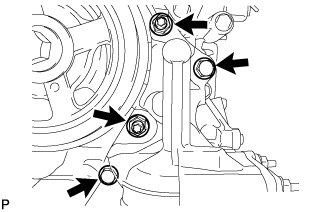
Remove the 2 bolts, 2 nuts and filter bracket.
Remove the 2 O-rings.
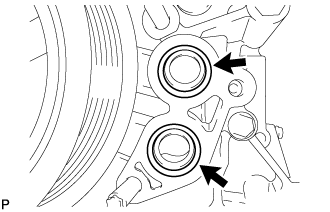
| 9. REMOVE OIL COOLER ASSEMBLY |
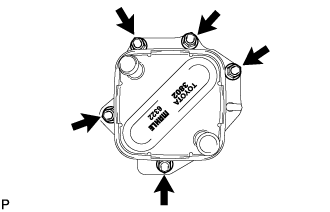
Remove the 5 nuts and oil cooler from the oil filter bracket.
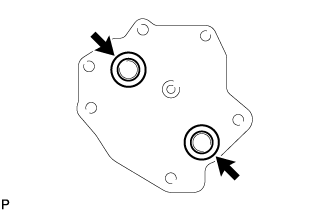
Remove the 2 O-rings.
| 10. REMOVE OIL COOLER SPACER |
Remove the bolt and oil cooler spacer from the oil filter bracket.
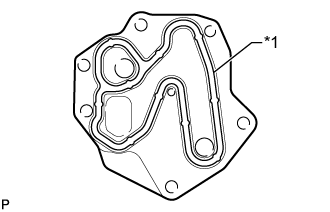
Remove the gasket.
| *1 | Gasket |