Power Back Door Main Switch -- Installation |
- HINT:
- Use the same procedure for LHD and RHD vehicles.
- The procedure listed below are for LHD vehicles.
| 1. INSTALL POWER BACK DOOR MAIN SWITCH |
Attach the 2 claws to install the power back door main switch.
| 2. INSTALL LOWER NO. 1 INSTRUMENT PANEL FINISH PANEL |
Connect the connectors.
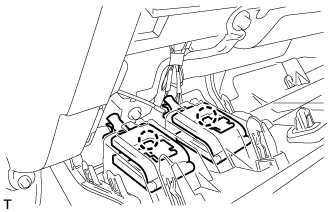
for Automatic Air Conditioning System:
Attach the 2 claws to install the room temperature sensor.
 |
Attach the 2 claws to connect the 2 control cables.
 |
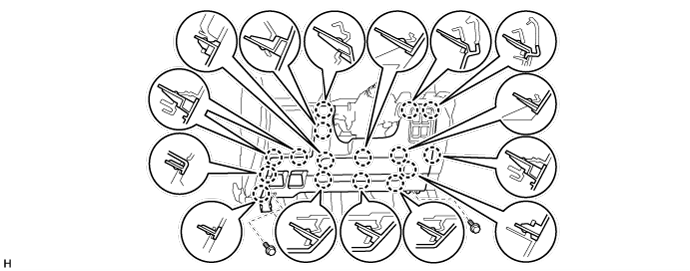
w/ Driver Side Knee Airbag:
Attach the 16 claws to install the lower No. 1 instrument panel finish panel.
Install the 2 bolts.
w/o Driver Side Knee Airbag:
Attach the 9 claws to install the lower No. 1 instrument panel finish panel.
Install the 2 bolts.

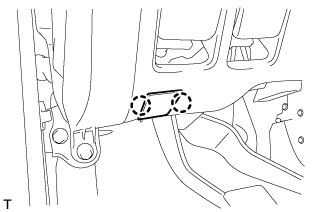
Attach the 2 claws to close the hole cover.
 |
| 3. INSTALL NO. 1 INSTRUMENT PANEL UNDER COVER SUB-ASSEMBLY (w/ Floor Under Cover) |
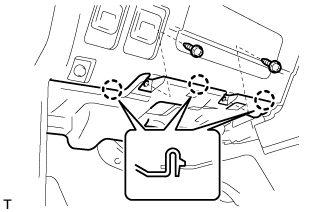 |
Connect the connectors.
Attach the 3 claws to install the No. 1 instrument panel under cover.
Install the 2 screws.
| 4. INSTALL COWL SIDE TRIM BOARD LH |
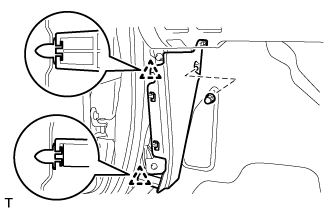 |
Attach the 2 clips to install the cowl side trim board.
Install the cap nut.
| 5. INSTALL FRONT DOOR SCUFF PLATE LH |
 |
Attach the 7 claws and 4 clips to install the scuff plate.