Damping Force Control Actuator (For Rear Side) -- Removal |
- HINT:
- Use the same procedures for the RH side and LH side.
- The procedures listed below are for the LH side.
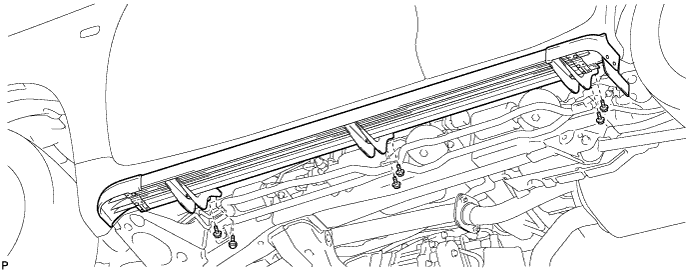
| 1. REMOVE SIDE STEP ASSEMBLY LH |
Remove the 6 bolts and side step.
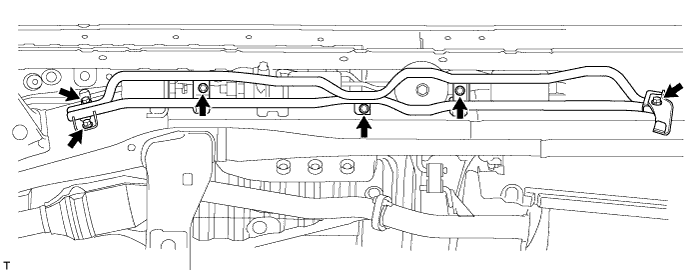
| 2. REMOVE HEIGHT CONTROL UNIT PROTECTOR ASSEMBLY LH |
Remove the 6 bolts and protector pipe.
| 3. DISCHARGE SUSPENSION FLUID PRESSURE |
Connect a hose to the bleeder plug for the shock absorber control valve and loosen the bleeder plug.
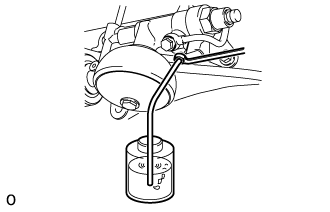 |
Discharge the suspension fluid pressure.
After the fluid pressure has dropped and oil has drained out, tighten the bleeder plug and remove the hose.
- Torque:
- 8.3 N*m{85 kgf*cm, 73 in.*lbf}
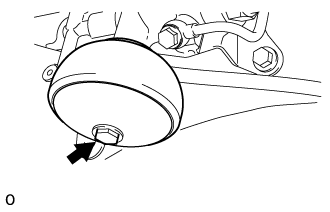
| 4. REMOVE REAR SUSPENSION CONTROL ACCUMULATOR ASSEMBLY LH |
Remove the control accumulator from the control valve.
 |
Remove the O-ring from the accumulator.
| 5. REMOVE REAR NO. 3 SUSPENSION CONTROL ACCUMULATOR LH |
Remove the No. 3 control accumulator from the control valve.
 |
Remove the O-ring and back-up ring from the control accumulator.
| 6. REMOVE REAR SHOCK ABSORBER CONTROL VALVE ASSEMBLY LH |
Disconnect the control valve connector from the control valve.
 |
Remove the union bolt and gasket from the No. 4 suspension control pressure hose.
Disconnect the wire harness clamp from the control valve bracket.
Using a union nut wrench, disconnect the No. 4 height control tube from the control valve.
 |
Remove the 3 bolts and control valve with the bracket from the vehicle.
 |
Remove the 3 bolts and bracket from the control valve.
 |
| 7. REMOVE REAR NO. 2 SUSPENSION CONTROL ACCUMULATOR BRACKET LH |
Remove the bolt and bracket from the shock absorber control valve.