REMOVE FRONT DOOR WINDOW REGULATOR HANDLE ASSEMBLY (w/o Power Window)
REMOVE REAR DOOR WINDOW REGULATOR HANDLE ASSEMBLY (w/o Power Window)
REMOVE REAR DOOR ARMREST BASE UPPER PANEL (w/o Power Window)
Black Out Tape (For Sedan) -- Removal |
- HINT:
- The procedure described below is for the LH side. Use the same procedure for the RH and LH sides, unless otherwise specified.
| 1. DISCONNECT CABLE FROM NEGATIVE BATTERY TERMINAL |
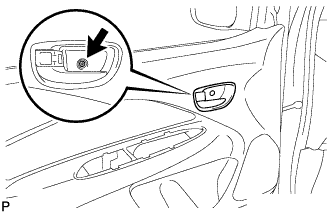
| 2. REMOVE FRONT DOOR WINDOW REGULATOR HANDLE ASSEMBLY (w/o Power Window) |
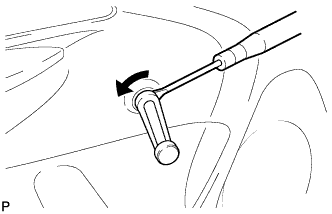 |
Insert a clip remover between the plate and door trim.
Turn the handle with the clip remover inserted, as shown in the illustration.
Remove the front door window regulator handle and clip.
Remove the window regulator handle plate.
| 3. REMOVE FRONT DOOR LOWER FRAME BRACKET GARNISH |
 |
Disengage the claw and clip and remove the front door lower frame bracket garnish.
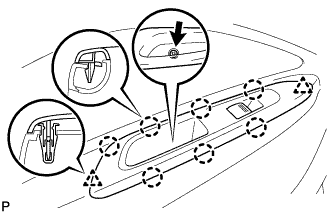
| 4. REMOVE FRONT DOOR ARMREST BASE UPPER PANEL |
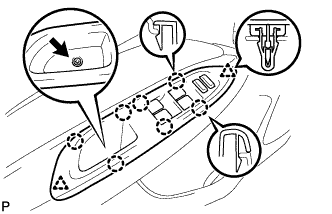 |
for Driver side with power window:
Remove the screw.
Disengage the 7 claws and 2 clips and remove the front armrest base upper panel.
Disconnect the connector.
for Front passenger side with power window:
Remove the screw.
Disengage the 7 claws and 2 clips and remove the front armrest base upper panel.
Disconnect the connector.
 |
w/o Power window:
Remove the screw.
Disengage the 5 claws and 2 clips and remove the front armrest base upper panel.
 |
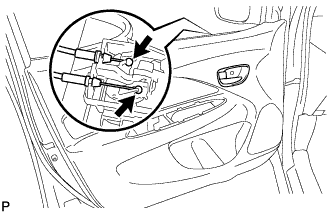
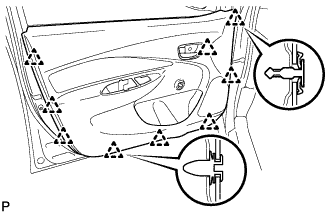
| 5. REMOVE FRONT DOOR TRIM BOARD SUB-ASSEMBLY |
w/ Power window:
Remove the screw.
Disengage the 9 clips.
Disconnect the front door lock remote control cable and front door inside locking cable and remove the front door trim board.

 |
w/o Power window:
Remove the screw.
Disengage the 9 clips.
Disconnect the front door lock remote control cable and front door inside locking cable and remove the front door trim board.

 |
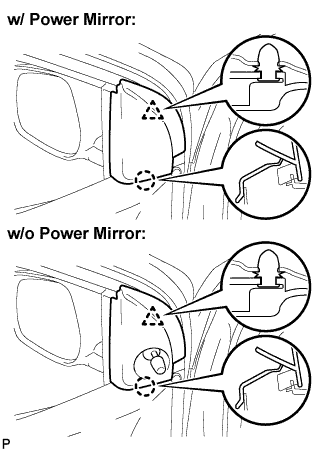
| 6. REMOVE OUTER REAR VIEW MIRROR ASSEMBLY |
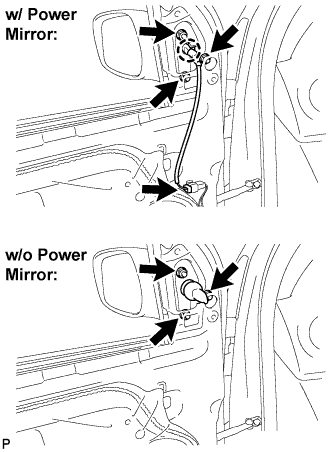 |
w/ Power mirror:
Disconnect the connector.
Remove the 3 nuts, disengage the claw and remove the outer rear view mirror.
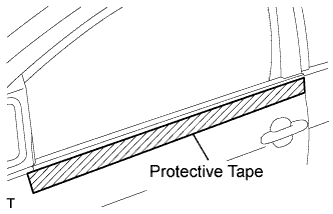
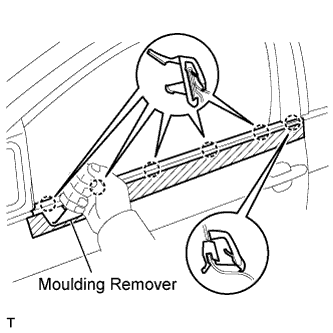
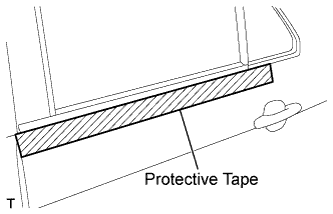
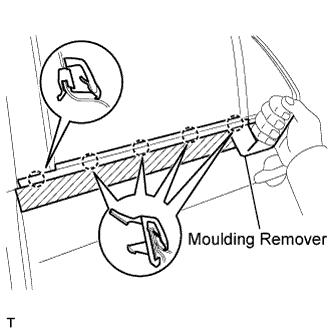
| 7. REMOVE FRONT DOOR BELT MOULDING |
Apply protective tape to the door panel in the periphery of the front door belt moulding.
 |
Using a moulding remover, disengage the 6 claws and remove the front door belt moulding.
 |
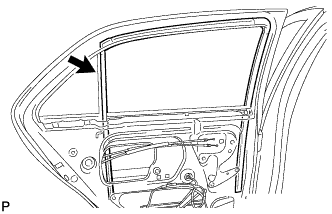
| 8. REMOVE FRONT DOOR GLASS RUN |
 |
Disengage the clip, then remove the front door glass run.
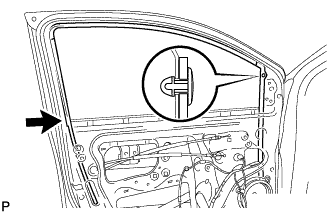
| 9. REMOVE NO. 1 BLACK OUT TAPE |
Using an infrared light, heat the black out tape.
- NOTICE:
- Do not burn yourself with the heated front door panel or infrared light.
- HINT:
- Heat at 40 to 60°C (104 to 140°F) for 3 to 5 minutes.
 |
Lift the end portion with your nail and peel it parallel to the attachment surface.
| 10. REMOVE REAR DOOR WINDOW REGULATOR HANDLE ASSEMBLY (w/o Power Window) |
 |
Insert a clip remover between the plate and door trim.
Turn the handle with the clip remover inserted, as shown in the illustration.
Remove the rear door window regulator handle assembly and clip.
Remove the window regulator handle plate.
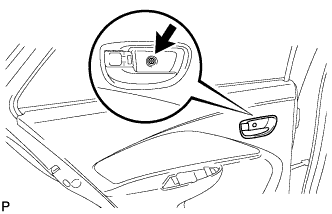
| 11. REMOVE REAR DOOR ARMREST BASE UPPER PANEL (w/o Power Window) |
 |
Remove the screw.
Disengage the 4 claws and remove the rear door armrest base upper panel.
| 12. REMOVE REAR DOOR ARMREST BASE UPPER PANEL (w/ Power Window) |
 |
Remove the screw.
Disengage the 7 claws and 2 clips and remove the rear door armrest base upper panel.
Disconnect the connector.
| 13. REMOVE REAR DOOR TRIM BOARD SUB-ASSEMBLY |
Remove the screw.
 |
Disengage the 7 clips.
 |
Disconnect the rear door lock remote control cable and rear door inside locking cable and remove the rear door trim board.
 |
| 14. REMOVE REAR DOOR BELT MOULDING |
Apply protective tape to the door panel in the periphery of the rear door belt moulding.
 |
Using a moulding remover, disengage the 5 claws and remove the rear door belt moulding.
 |
| 15. REMOVE REAR DOOR GLASS RUN |
 |
Remove the rear door glass run.
| 16. REMOVE NO. 2 BLACK OUT TAPE |
Using an infrared light, heat the No. 2 black out tape.
- NOTICE:
- Do not burn yourself with the heated rear door panel or infrared light.
- HINT:
- Heat at 40 to 60°C (104 to 140°F) for 3 to 5 minutes.
 |
Lift the end portion with your nail and peel it parallel to the attachment surface.
| 17. REMOVE NO. 3 BLACK OUT TAPE |
Using an infrared light, heat the No. 3 black out tape.
- NOTICE:
- Do not burn yourself with the heated center pillar or infrared light.
- HINT:
- Heat at 40 to 60°C (104 to 140°F) for 3 to 5 minutes.
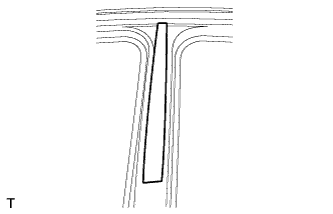 |
Lift the end portion with your nail and peel it parallel to the attachment surface.