Egr Valve -- Removal |
| 1. DISCONNECT CABLE FROM NEGATIVE BATTERY TERMINAL |
- NOTICE:
- When disconnecting the cable, some systems need to be initialized after the cable is reconnected (Toyota Fortuner RM000004W63000X.html).
| 2. REMOVE DIESEL THROTTLE BODY ASSEMBLY |
| 3. REMOVE NO. 1, NO. 2 AND NO. 3 INJECTION PIPE SUB-ASSEMBLY |
- NOTICE:
- After removing the fuel pipe, cover the outlets on the common rail with tape to keep out foreign matter.
- After removing the fuel pipe, put it in a plastic bag to prevent foreign matter from contaminating its injector inlet.
Remove the 2 nuts and No. 3 injection pipe clamp.
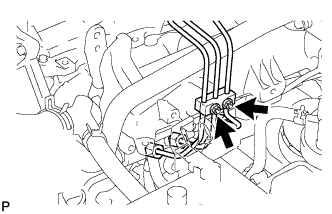 |
Remove the 2 bolts and 2 No. 2 injection pipe clamps.
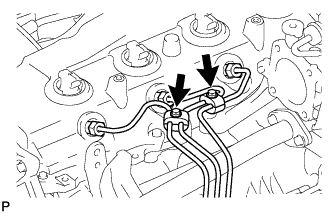 |
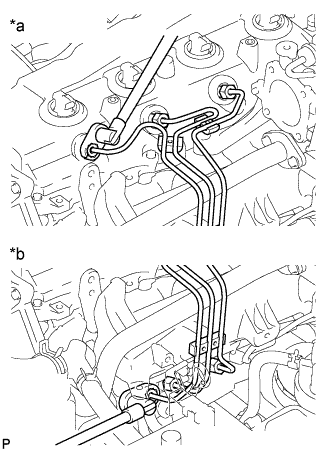
Using a 17 mm union nut wrench, loosen the union nuts and remove the No. 1, No. 2 and No. 3 injection pipes.
Text in Illustration *a Injector Side *b Common Rail Side
 |
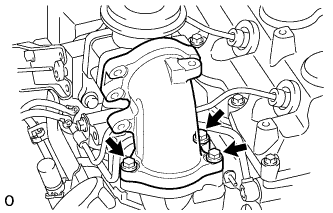
| 4. REMOVE NO. 2 INTAKE AIR CONNECTOR BRACKET |
Remove the 3 bolts and No. 2 intake air connector bracket.
 |
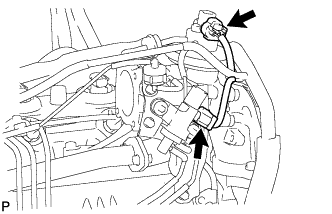
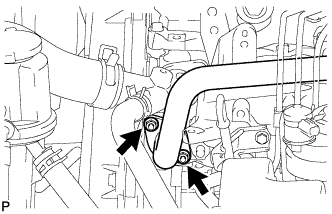
| 5. DISCONNECT NO. 3 WATER BY-PASS PIPE |
Remove the 2 bolts and disconnect the No. 3 water by-pass pipe with the wire harness.
 |
| 6. REMOVE ELECTRIC VACUUM REGULATING VALVE ASSEMBLY (for EGR) |
Disconnect the 2 connectors.
 |
Disconnect the 6 vacuum hoses.
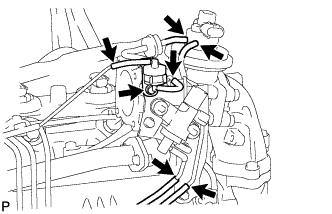 |
Remove the bolt and No. 1 gas filter with gas filter bracket.
Remove the 2 bolts and electric vacuum regulating valve.
 |
| 7. REMOVE NO. 2 INTAKE AIR CONNECTOR |
Remove the 3 nuts, No. 2 intake air connector and gasket.
 |
| 8. REMOVE INTAKE AIR CONNECTOR |
Remove the 3 bolts, intake air connector and 2 gaskets.
 |
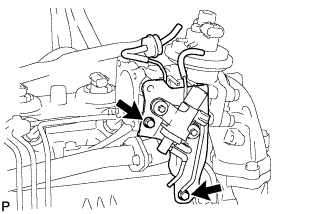
| 9. REMOVE ELECTRIC EGR CONTROL VALVE ASSEMBLY WITH NO. 1 EGR PIPE SUB-ASSEMBLY |
Remove the 2 nuts, electric EGR control valve with No. 1 EGR pipe and gasket.
 |
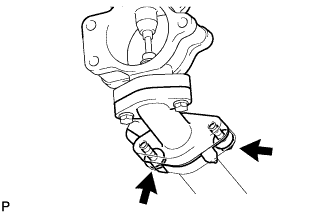
| 10. REMOVE NO. 1 EGR PIPE SUB-ASSEMBLY |
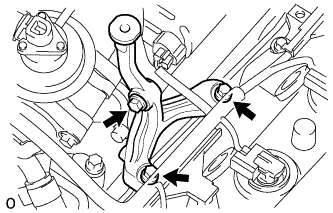
Remove the 2 bolts, No. 1 EGR pipe and gasket from the EGR valve adapter.
 |
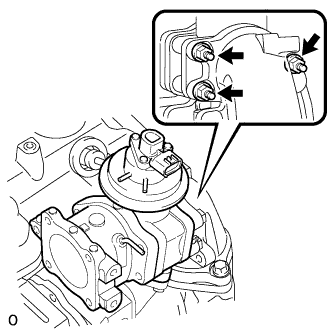
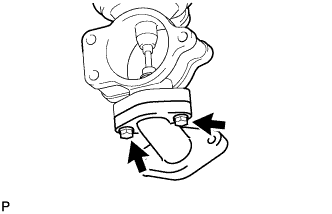
| 11. REMOVE EGR VALVE ADAPTER |
Remove the 2 bolts, EGR valve adapter and gasket from the electric EGR control valve.
 |