Fuel filter 2AD-FHV
Components
Fuel filter 2AD-FHV
Removal
-
Check the fuel filter warning light.
NOTICE:
When the fuel filter warning light illuminates and the buzzer sounds, the water in the fuel filter must be drained immediately.
-
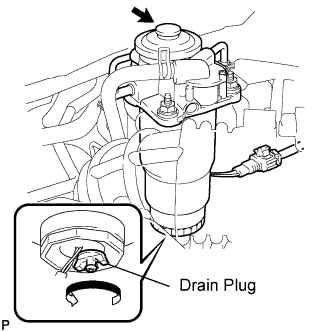
Remove the drain plug and place a small tray to catch the water.
-
Operate the hand pump until only fuel begins to run out.
-
After draining, retighten the drain plug.
NOTICE:
Do not use any tools.
-
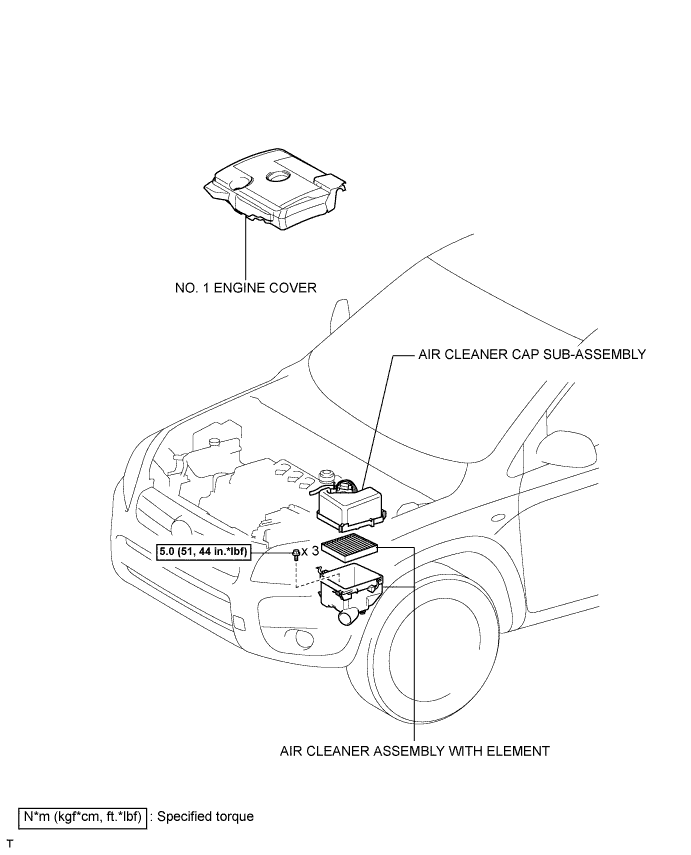
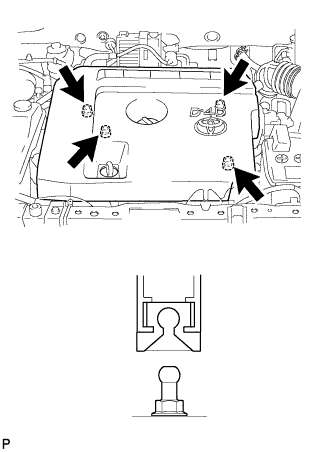
Detach the 4 clips and remove the engine cover.
-
Disconnect the mass air flow meter connector.
-
Disconnect the wire harness clamp.
-
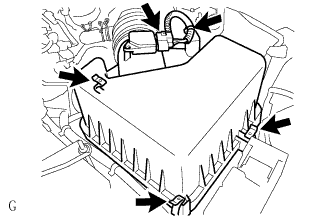
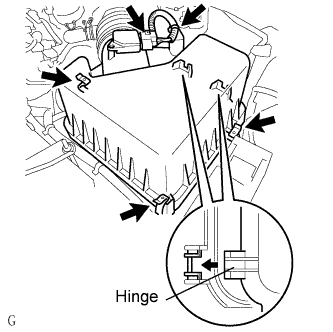
Unhook the 3 hook clamps, and then remove the air cleaner cap.
-
Remove the air cleaner filter element from the air cleaner case.
-
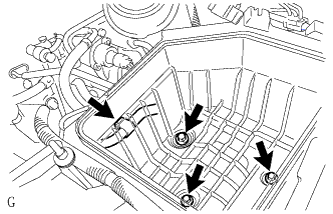
Disconnect the wire harness clamp and remove the 3 bolts and air cleaner case.
-
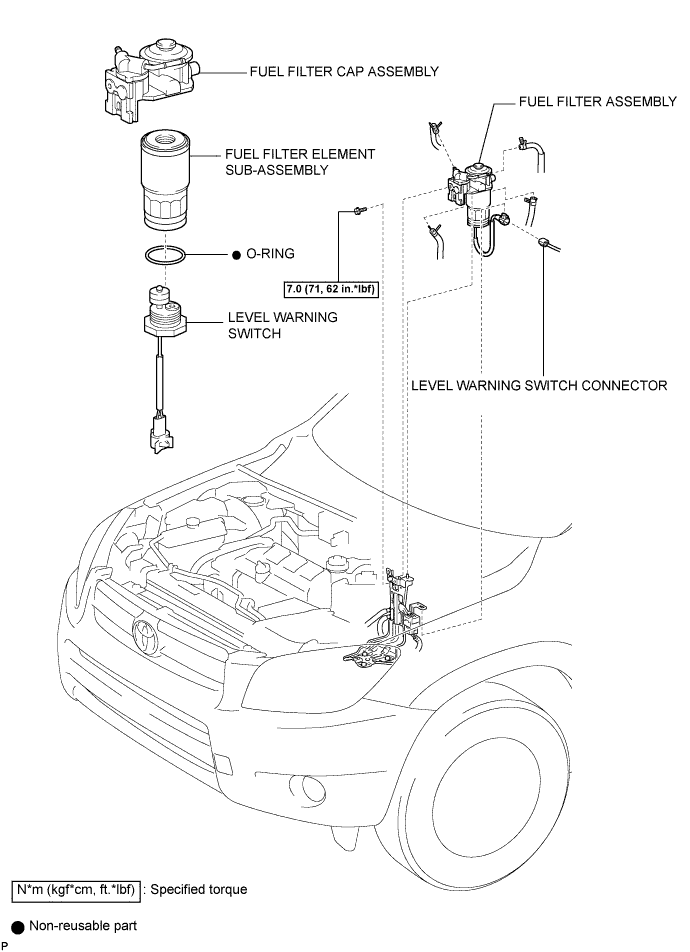
Disconnect the level warning switch connector.
-
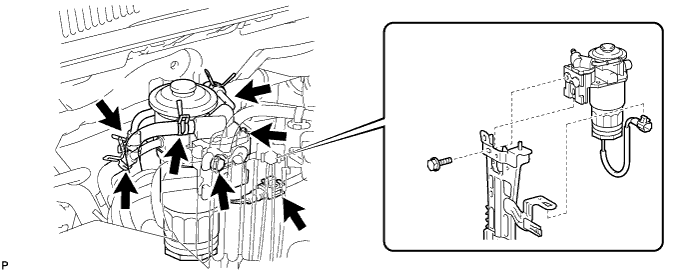
Disconnect the 4 hoses indicated in the illustration.
-
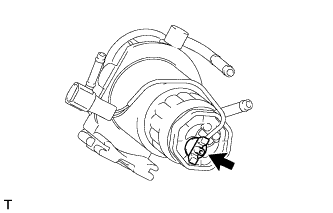
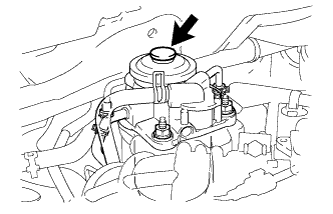
Remove the bolt and fuel filter.
-
Loosen the drain bolt, and drain the fuel from the fuel filter.
-
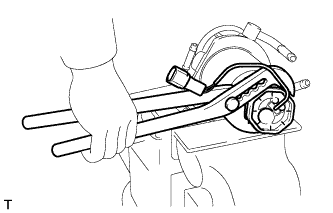
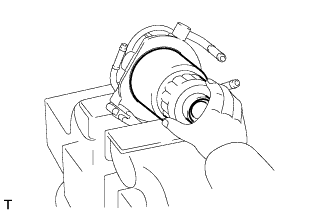
Clamp the fuel filter in a vise.
NOTICE:
Be careful not to damage the fuel filter cap.
-
Using pliers, remove the fuel level warning switch.
NOTICE:
Be careful not to damage the level warning switch.
-
Remove the O-ring from the fuel level warning switch.
-
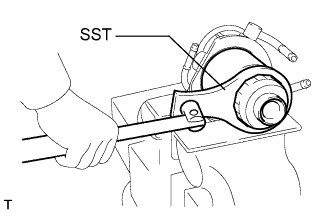
Using SST, remove the fuel filter element.
SST:
09228-64030
Fuel filter 2AD-FHV
Inspection
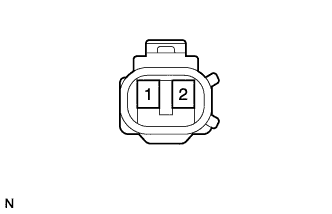
-
Measure the resistance of the switch.
Standard resistance:
If the result is not as specified, replace the level warning switch.Tester Connection Condition Specified Condition 1 - 2 Float is at upper end position Below 1 ? 1 - 2 Float is at lower end position 10 k? or higher
Fuel filter 2AD-FHV
Installation
-
Check and clean the installation surface of the fuel filter.
-
Apply fuel to the gasket of the new fuel filter element.
-
Lightly screw the fuel filter element into place, and tighten it until the gasket comes into contact with the seat.
-
Tighten it an additional 3/4 turn by hand.
-
Install a new O-ring to the level warning switch.
-
Apply fuel to the O-ring of the level warning switch.
-
Install the level warning switch to the fuel filter and tighten it by hand.
-
Install the fuel filter with the bolt.
Torque:
7.0 N*m{ 71 kgf*cm , 62 lbsf.in }
-
Connect the 4 hoses.
-
Connect the level warning switch connector.
-
Install the cleaner case with the 3 bolts and connect the wire harness clamp.
Torque:
5.0 N*m{ 51 kgf*cm , 44 lbsf.in }
-
Install the air filter element.
-
Insert the hinge parts of the air cleaner cap into the air cleaner case, and then hang the 3 hook clamps.
-
Connect the mass air flow meter connector.
-
Engage the wire harness clamp.
-
Using the hand pump, bleed air from the fuel system until pumping becomes difficult.
-
PERFORM ACTIVE TEST
-
Connect the intelligent tester to the DLC3.
-
Start the engine.
-
Turn the intelligent tester ON.
-
Enter the following menus: Powertrain / Engine / Active Test.
-
Perform the Active Test.
Intelligent Tester Display Test Details Control Range Diagnostic Notes Test the Fuel Leak Pressurizing common rail internal fuel pressure, and checking for fuel leaks Stop/Start - Fuel pressure inside common rail pressurized to specified value and engine speed increased to 2,000 rpm when start is selected
- Above conditions to be maintained while test is started
-
-
Attach the 4 clips to install the engine cover.