Front Seat Side Airbag Assembly (For Hatchback Front Passenger Side) -- Installation |
- CAUTION:
- Some of these service operations affect the SRS airbag system. Read the precautionary notices concerning the SRS airbag system before servicing (YARIS_NCP93 RM000000KT10EAX.html).
- If the side airbag was deployed, replace the front seat airbag assembly, separate type front seatback spring assembly, separate type front seatback cover and separate type front seatback pad with a new one.
- Wear protective gloves. Sharp areas on the parts may injure your hands.
- NOTICE:
- Always use "TORX" socket wrench E10 when removing the front seat.
| 1. INSTALL FRONT SEAT SIDE AIRBAG ASSEMBLY |
- CAUTION:
- The nuts must not be reused.
- Make sure that the seat frame assembly is not deformed. If it is, replace it with a new one.
Install the front seat side airbag assembly with 2 new nuts.
- Torque:
- 5.5 N*m{56 kgf*cm, 49 in.*lbf}
Engage the 2 clamps.
Engage the 3 clamps to install the front seat side airbag wire harness.
| 2. INSTALL FRONT SEATBACK COVER WITH PAD |
Temporary install the front seatback cover with pad.
Install the front seatback cover bracket with the 2 nuts.
- Torque:
- 5.5 N*m{56 kgf*cm, 49 in.*lbf}
- NOTICE:
- For vehicles with side airbags, the side airbags may not be activated normally unless the front seatback cover is securely installed.
- Check that the strap is not twisted after installing the bracket.
- Install the bracket securely.
Fasten the 2 zippers. (for Sport Package)
Align the protruding portion of the front seat headrest support with the installation groove of the front seat adjuster frame.
Text in Illustration *a Protruding
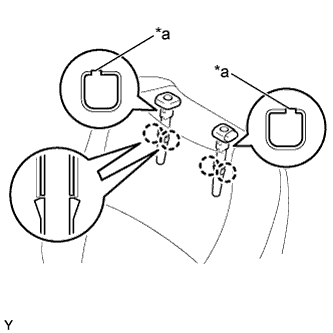 |
Engage the 4 claws to install the 2 front seat headrest supports.
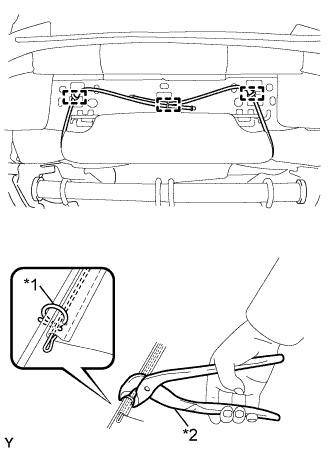
Using hog ring pliers, install 3 new hog rings.
Text in Illustration *1 New Hog Ring *2 Hog Ring Pliers
 |
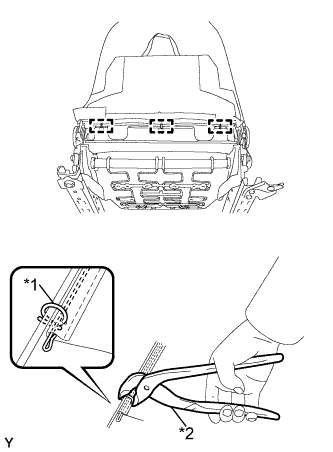
Using hog ring pliers, install 3 new hog rings.
Text in Illustration *1 New Hog Ring *2 Hog Ring Pliers - NOTICE:
- Do not soil or scratch the front seatback cover.
 |
Fasten the hook and loop fastener.
Connect the seatback cover band.
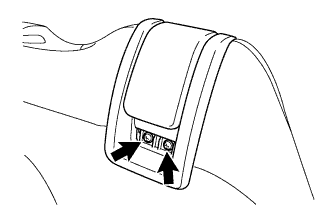
| 3. INSTALL RECLINING REMOTE CONTROL LEVER SUB-ASSEMBLY (for 3 Door) |
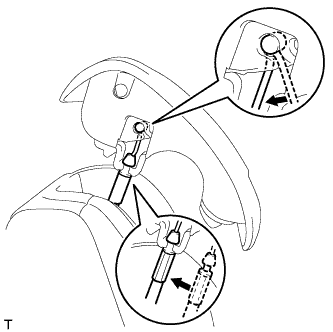
Connect the cable end to the reclining remote control lever sub-assembly as shown in the illustration.
 |
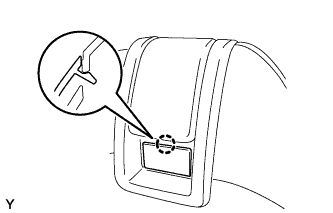
Install the control lever sub-assembly with the 2 screws.
 |
Slide down the cover.
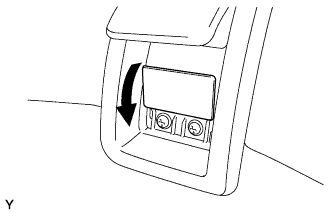 |
Engage the claw and close the cover.
 |
| 4. INSTALL FRONT SEAT CUSHION INNER SHIELD |
Engage the 2 claws to install the front seat cushion inner shield.
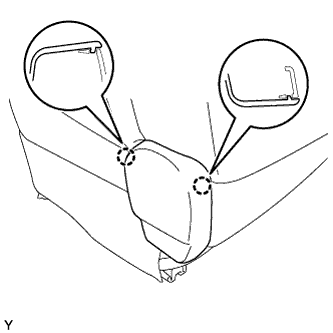 |
| 5. INSTALL FRONT SEAT CUSHION SHIELD |
Engage the clip and 2 claws to install the front seat cushion shield.
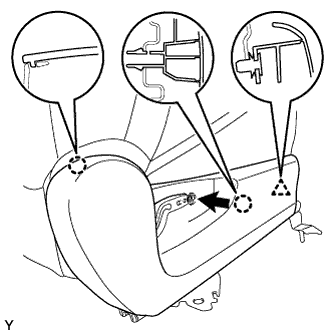 |
Install the screw.
| 6. INSTALL RECLINING ADJUSTER RELEASE HANDLE |
Engage the claw to install the reclining adjuster release handle.
 |
| 7. INSTALL FRONT SEAT HEADREST ASSEMBLY |
Install the front seat headrest assembly.
| 8. INSTALL FRONT SEAT INNER BELT ASSEMBLY |
| 9. CONNECT CABLE TO NEGATIVE BATTERY TERMINAL |
- Torque:
- 5.5 N*m{55 kgf*cm, 48 in.*lbf}
| 10. INSPECT SRS WARNING LIGHT |