Roof Headlining Disassembly
REMOVE NO. 1 AIR OUTLET REGISTER ASSEMBLY
REMOVE NO. 1 AIR OUTLET REGISTER ASSEMBLY
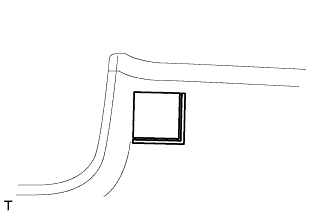
REMOVE ROOF HEADLINING PACKING
REMOVE PACKING
REMOVE NO. 1 ROOF WIRE
Roof Headlining -- Disassembly |
- HINT:
- Use the same procedure for RHD and LHD vehicles.
- The procedure listed below is for LHD vehicles.
| 1. REMOVE NO. 1 AIR OUTLET REGISTER ASSEMBLY |
- HINT:
- Use the same procedure for both No. 1 air outlet registers.
Remove the 2 screws.
Detach the 4 claws and remove the bracket and No. 1 air outlet register.
Text in Illustration*1
| Bracket
|
*2
| No. 1 Air Outlet Register
|
| 2. REMOVE NO. 1 AIR OUTLET REGISTER ASSEMBLY |
Remove the 3 screws.
Detach the 8 claws and remove the bracket and No. 1 air outlet register.
Text in Illustration*1
| Bracket
|
*2
| No. 1 Air Outlet Register
|
| 3. REMOVE ROOF HEADLINING PACKING |
- HINT:
- Use the same procedure for both roof headlining packings.
Remove the roof headlining packing.
- HINT:
- Use the same procedure for both packings.
Remove the packing.
| 5. REMOVE NO. 1 ROOF WIRE |
Remove each piece of tape and the No. 1 roof wire from the roof headlining.


