Front Console Box Removal
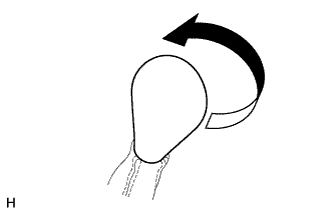
REMOVE SHIFT LEVER KNOB SUB-ASSEMBLY (for Manual Transmission)
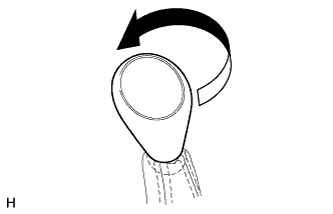
REMOVE SHIFT LEVER KNOB SUB-ASSEMBLY (for 4WD)
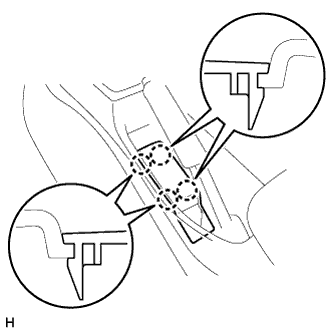
REMOVE PARKING BRAKE HOLE COVER SUB-ASSEMBLY
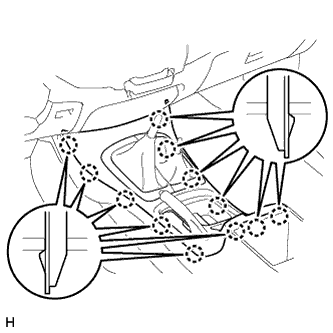
REMOVE UPPER CONSOLE PANEL SUB-ASSEMBLY (for LHD)
REMOVE UPPER CONSOLE PANEL SUB-ASSEMBLY (for RHD)
REMOVE CONSOLE BOX ASSEMBLY
Front Console Box -- Removal |
- HINT:
- Use the same procedure for RHD and LHD vehicles.
- The procedure listed below is for LHD vehicles.
| 1. REMOVE SHIFT LEVER KNOB SUB-ASSEMBLY (for Manual Transmission) |
Twist the shift lever knob in the direction indicated by the arrow and remove it.
| 2. REMOVE SHIFT LEVER KNOB SUB-ASSEMBLY (for 4WD) |
Twist the shift lever knob in the direction indicated by the arrow and remove it.
| 3. REMOVE PARKING BRAKE HOLE COVER SUB-ASSEMBLY |
Detach the 4 claws and remove the parking brake hole cover.
| 4. REMOVE UPPER CONSOLE PANEL SUB-ASSEMBLY (for LHD) |
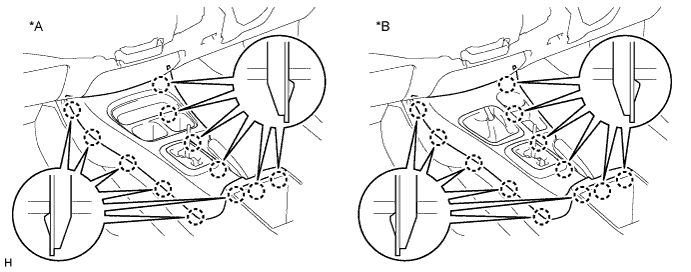
Detach the 12 claws and remove the upper console panel.
- NOTICE:
- Be careful not to damage the instrument panel and console box with the claws of the console panel.
| 5. REMOVE UPPER CONSOLE PANEL SUB-ASSEMBLY (for RHD) |
for Manual Transmission:
Detach the 12 claws and remove the upper console panel.
- NOTICE:
- Be careful not to damage the instrument panel and console box with the claws of the upper console panel.
Text in Illustration*A
| for 2WD
| *B
| for 4WD
|
for Automatic Transmission:
Detach the 12 claws and remove the upper console panel.
- NOTICE:
- Be careful not to damage the instrument panel and console box with the claws of the upper console panel.
Text in Illustration*A
| for 2WD
| *B
| for 4WD
|
| 6. REMOVE CONSOLE BOX ASSEMBLY |
Remove the 4 screws and 2 bolts.
Using a clip remover, remove the 2 clips and console box.
Text in Illustration*1
| Screw
|
*2
| Bolt
|
*3
| Clip
|
