Crankshaft Position Sensor Removal
DISCONNECT CABLE FROM NEGATIVE BATTERY TERMINAL
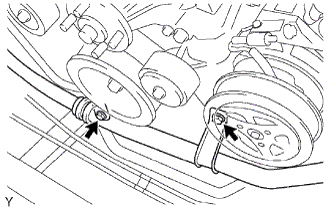
REMOVE DRIVE BELT
REMOVE COOLER COMPRESSOR ASSEMBLY
REMOVE NO. 1 COMPRESSOR MOUNTING BRACKET
REMOVE CRANKSHAFT POSITION SENSOR
Crankshaft Position Sensor -- Removal |
| 1. DISCONNECT CABLE FROM NEGATIVE BATTERY TERMINAL |
- CAUTION:
- Wait at least 90 seconds after disconnecting the cable from the negative (-) battery terminal to prevent airbag activation.
Use the hexagon-shaped part indicated by the arrow in the illustration to move the tensioner pulley downward and decrease the tension in the drive belt. Then remove the drive belt.
- NOTICE:
- When removing the drive belt, do not use the idle pulley's bolt.
- HINT:
- After removing the drive belt, move the tensioner upward to the maximum position.
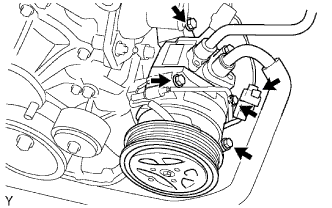
| 3. REMOVE COOLER COMPRESSOR ASSEMBLY |
Remove the 2 bolts and disconnect the suction hose from the engine.
Disconnect the cooler compressor connector.
Remove the 4 bolts and disconnect the compressor from the engine.
Support the cooler compressor securely.
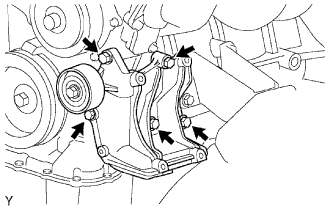
| 4. REMOVE NO. 1 COMPRESSOR MOUNTING BRACKET |
Remove the 5 bolts and mounting bracket.
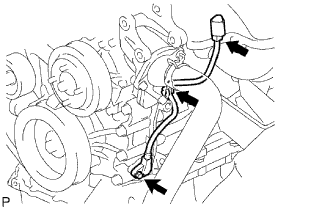
| 5. REMOVE CRANKSHAFT POSITION SENSOR |
Disconnect the sensor connector.
Disconnect the connector from the connector bracket.
Detach the harness clamp.
Remove the bolt and sensor.