Lexus IS250 IS220d GSE20 ALE20 2AD-FHV EXHAUST
EXHAUST PIPE - INSTALLATION
| 1. INSTALL TAIL EXHAUST PIPE ASSEMBLY |
Install the tail exhaust pipe assembly with the 4 exhaust pipe supports.
| 2. INSTALL FRONT EXHAUST PIPE ASSEMBLY |

Using vernier calipers, measure the free length of the compression springs.
- Minimum length:
- 38.5 mm (1.516 in.)
If the free length is less than the minimum, replace the compression spring.
Fully insert 2 new gaskets to the exhaust manifold converter and front exhaust pipe assembly by hand.
- NOTICE:
- HINT:
- Using a plastic hammer, uniformly strike the gasket so that the gasket and front exhaust pipe are properly fit.
Install the front exhaust pipe assembly.

Install the 2 bolts and 2 compression springs.
- Torque:
- 43 N*m{ 439 kgf*cm, 32 ft.*lbf}
- NOTICE:
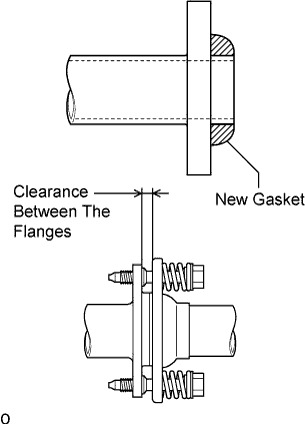
- After installation, check that the clearance is almost the same at any point between the flanges of the tail exhaust pipe assembly and front exhaust pipe assembly.
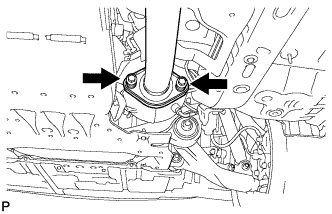
Install the 2 bolts and 2 compression springs.
- Torque:
- 43 N*m{ 439 kgf*cm, 32 ft.*lbf}
- NOTICE:
- After installation, check that the clearance is almost the same at any point between the flanges of the exhaust manifold converter and front exhaust pipe assembly.
| 3. INSTALL AIR FUEL RATIO SENSOR |
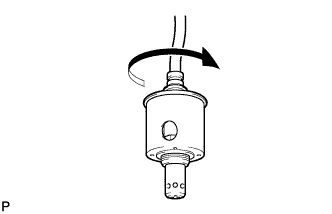
Before installing the air fuel ratio sensor, twist the sensor wire counterclockwise 4 turns.
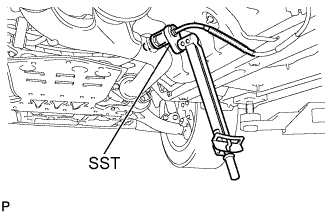
Using SST, install the air fuel ratio sensor to the front exhaust pipe.
- SST
- 09224-00010
- Torque:
- 44 N*m{ 449 kgf*cm, 33 ft.*lbf}
| 4. INSTALL FRONT CENTER FLOOR BRACE |
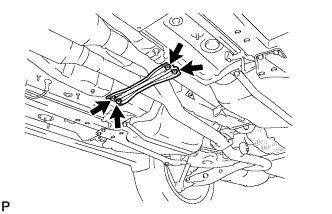
Install the front center floor brace with the 4 bolts.
- Torque:
- 7.4 N*m{ 75 kgf*cm, 65 in.*lbf}
| 5. INSTALL REAR NO. 1 FLOOR PANEL BRACE |
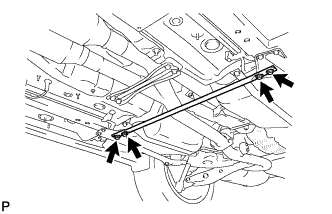
Install the rear No. 1 floor panel brace with the 4 bolts.
- Torque:
- 19 N*m{ 195 kgf*cm, 14 ft.*lbf}
| 6. INSTALL FLOOR UNDER COVER |

Install the No. 1 floor under cover and No. 2 floor under cover.
| 7. CHECK FOR EXHAUST GAS LEAKS |
If exhaust gas is leaking, tighten the related parts to stop the leak. Replace damaged parts as necessary.