REMOVE NO. 2 AIR OUTLET GRILLE ASSEMBLY (w/ Rear Air Conditioning System)
REMOVE NO. 1 AIR OUTLET GRILLE ASSEMBLY (w/ Rear Air Conditioning System)
Roof Headlining (W/O Sliding Roof) -- Disassembly |
- HINT:
- Use the same procedure for RHD and LHD vehicles.
- The procedure listed below is for LHD vehicles.
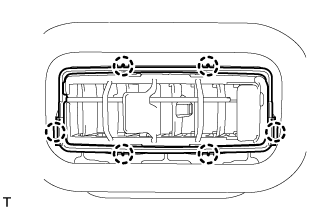
| 1. REMOVE NO. 2 AIR OUTLET GRILLE ASSEMBLY (w/ Rear Air Conditioning System) |
- HINT:
- Use the same procedure for both No. 2 air outlet grille assemblies.
Detach 6 claws and remove the No. 2 air outlet grille assembly.
 |
| 2. REMOVE NO. 1 AIR OUTLET GRILLE ASSEMBLY (w/ Rear Air Conditioning System) |
- HINT:
- Use the same procedures described for the No. 2 air outlet grille.
| 3. REMOVE NO. 1 ROOF SILENCER PAD |
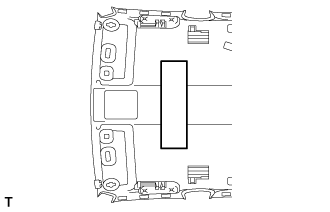 |
Remove the No. 1 roof silencer pad.
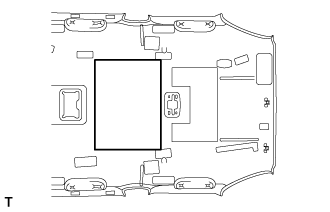
| 4. REMOVE NO. 2 ROOF SILENCER PAD |
 |
Remove the No. 2 roof silencer pad.
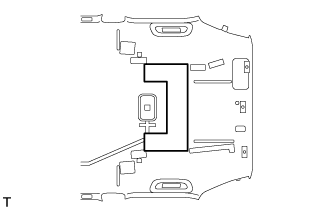
| 5. REMOVE NO. 3 ROOF SILENCER PAD |
 |
Remove the No. 3 roof silencer pad.
| 6. REMOVE NO. 4 ROOF SILENCER PAD |
 |
Remove the No. 4 roof silencer pad.
| 7. REMOVE NO. 1 ROOF WIRE |
Turn the visor connectors approximately 90° clockwise and remove them from the roof headlining.
Remove the 6 pieces of tape from the roof headlining.
Detach each clamp, and remove the roof wire and washer hose.
Remove the double-sided tape remaining on the headlining.
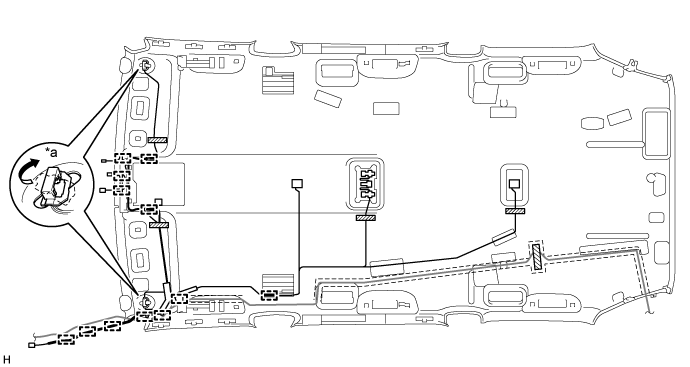
Text in Illustration *a Visor Connector - - 
Tape - -
| 8. REMOVE ANTENNA CORD SUB-ASSEMBLY |
w/o Sliding Roof:
Detach the 2 clamps and remove the antenna from the notch on the rear of the roof headlining.
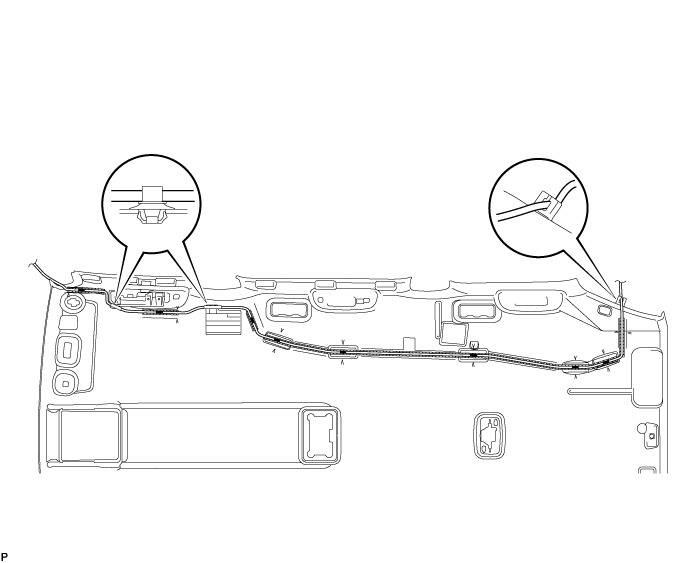
Remove the antenna cord from the roof headlining.
Remove the double-sided tape from the roof headlining.
w/ Sliding Roof:
Detach the 4 clamps and remove the antenna from the notch on the rear of the roof headlining.
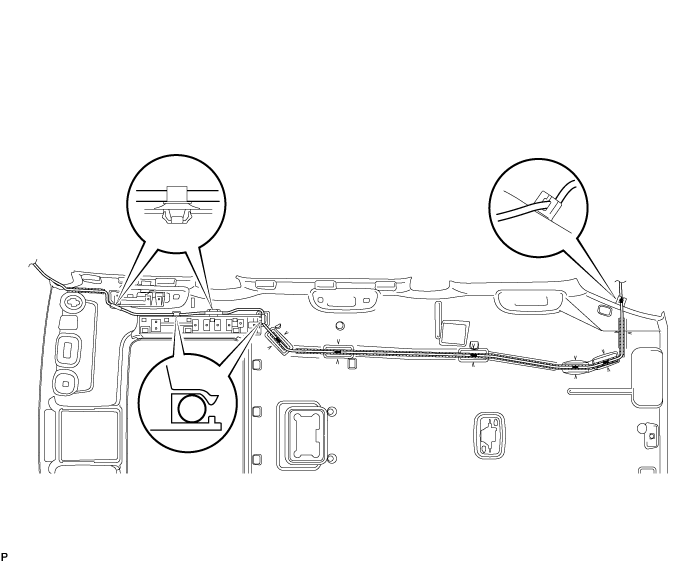
Remove the antenna cord from the roof headlining.
Remove the double-sided tape from the roof headlining.