Engine Switch -- Removal |
| 1. REMOVE NO. 2 INSTRUMENT PANEL FINISH PANEL CUSHION |
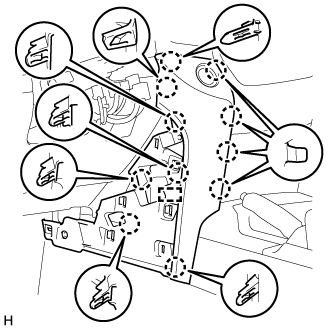
for Type A:
Put protective tape around the No. 2 instrument panel finish panel cushion.
Text in Illustration *a Protective Tape Using a moulding remover B, detach the 4 claws and 3 clips and remove the No. 2 instrument panel finish panel cushion.
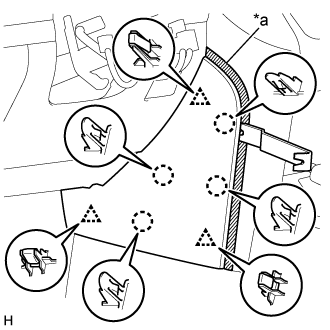
for Type B:
Put protective tape around the No. 2 instrument panel finish panel cushion.
Text in Illustration *a Protective Tape Using a moulding remover, detach the 7 claws and remove the No. 2 instrument panel finish panel cushion.
| 2. REMOVE LOWER INSTRUMENT PANEL PAD SUB-ASSEMBLY LH |
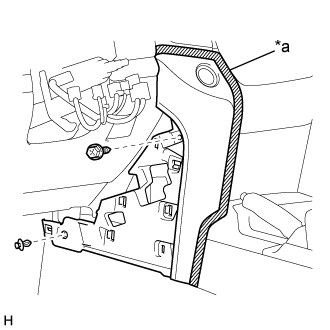
for Type A:
Put protective tape around the lower instrument panel pad sub-assembly LH.
Text in Illustration *a Protective Tape Remove the clip and screw.
Detach the 11 claws and guide.
Disconnect the connector and detach the clamps and remove the lower instrument panel pad sub-assembly LH.
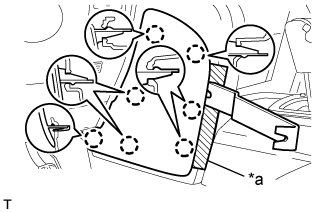
for Type B:
Put protective tape around the lower instrument panel pad sub-assembly LH.
Text in Illustration *a Protective Tape Remove the clip and screw.
Detach the 8 claws and 2 guides and remove the lower instrument panel pad sub-assembly LH.
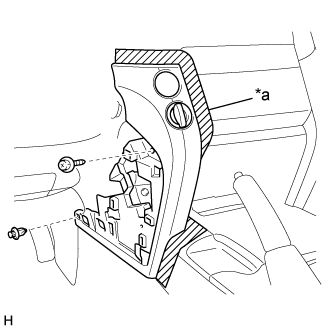

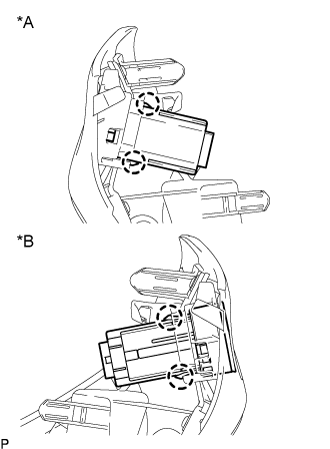
| 3. REMOVE ENGINE SWITCH |
Detach the 2 claws and remove the engine switch from the lower instrument panel pad sub-assembly LH.
Text in Illustration *A for LHD *B for RHD
 |