Rear Seat Assembly (For Double Cab) Disassembly
Seat. Hilux. Tgn26, 36 Kun25, 26, 35, 36 Ggn25
REMOVE REAR SEAT HEADREST ASSEMBLY
REMOVE REAR SEAT LEG BRACKET LH
REMOVE REAR SEAT CUSHION COVER LH
REMOVE REAR SEAT LEG BRACKET RH
REMOVE REAR SEAT CUSHION COVER RH
REMOVE REAR SEAT HEADREST SUPPORT
REMOVE REAR SEATBACK ASSEMBLY
REMOVE NO. 1 SEATBACK COVER
REMOVE NO. 1 SEATBACK PAD
REMOVE REAR SEAT CUSHION
REMOVE NO. 1 SEAT CUSHION COVER
REMOVE NO. 1 SEAT CUSHION PAD
REMOVE FOLD SEAT STOPPER BAND ASSEMBLY
Rear Seat Assembly (For Double Cab) -- Disassembly |
- CAUTION:
- Wear protective gloves. Sharp areas on the parts may injure your hands.
| 1. REMOVE REAR SEAT HEADREST ASSEMBLY |
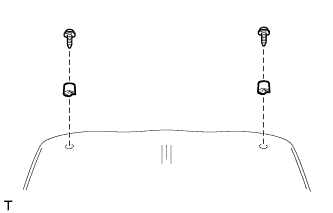
Remove the 2 rear seat headrests.
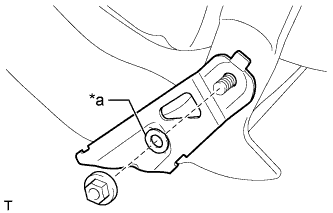
| 2. REMOVE REAR SEAT LEG BRACKET LH |
If the washer is installed between the nut and rear seat leg bracket LH:
Remove the nut, washer and rear seat leg bracket LH.
Text in Illustration*a
| Washer installed between nut and rear seat leg bracket LH
|
If the washer is not installed between the nut and rear seat leg bracket LH:
Remove the nut and rear seat leg bracket LH.
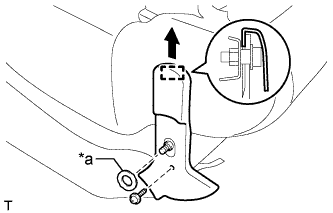
| 3. REMOVE REAR SEAT CUSHION COVER LH |
If the washer is installed between the rear seat leg bracket LH and rear seat cushion cover LH:
Remove the washer and screw.
Text in Illustration*a
| Washer installed between rear seat leg bracket LH and rear seat cushion cover LH
|
If the washer is not installed between the rear seat leg bracket LH and rear seat cushion cover LH:
Remove the screw.
Pull up the rear seat cushion cover LH to detach the guide and remove the rear seat cushion cover LH.
| 4. REMOVE REAR SEAT LEG BRACKET RH |
- HINT:
- Use the same procedure described for the LH side.
| 5. REMOVE REAR SEAT CUSHION COVER RH |
- HINT:
- Use the same procedures described for the LH side.
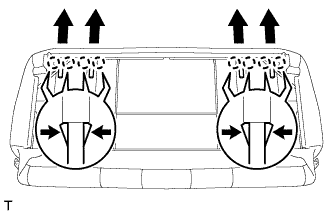
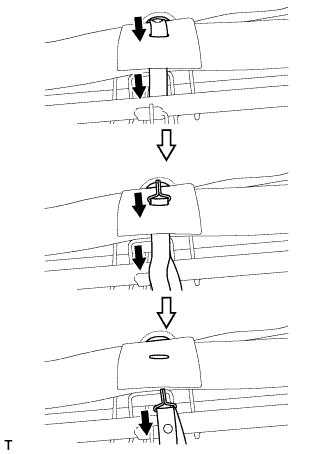
| 6. REMOVE REAR SEAT HEADREST SUPPORT |
Detach the 8 claws and remove the 4 rear seat headrest supports.
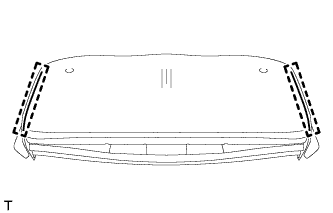
| 7. REMOVE REAR SEATBACK ASSEMBLY |
Remove the 2 bolts and rear seatback assembly from the rear seat cushion assembly.
| 8. REMOVE NO. 1 SEATBACK COVER |
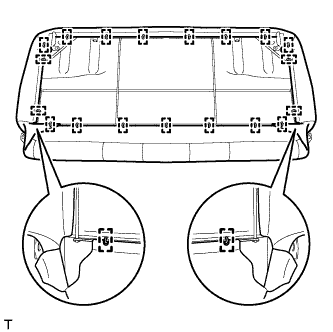
Remove the hog rings.
Remove the hog rings and No. 1 seatback cover from the No. 1 seatback pad.
| 9. REMOVE NO. 1 SEATBACK PAD |
- NOTICE:
- As the No. 1 seatback pad is affixed to the No. 1 seatback frame, do not remove the No. 1 seatback pad from the No. 1 seatback frame unless it is necessary to replace the No. 1 seatback pad. If the No. 1 seatback pad is removed from the No. 1 seatback frame, make sure to replace the No. 1 seatback pad.
Remove the No. 1 seatback pad from the No. 1 seatback frame.
If reusing the No. 1 seatback frame:
Remove any remaining pad and adhesive from the No. 1 seatback frame.
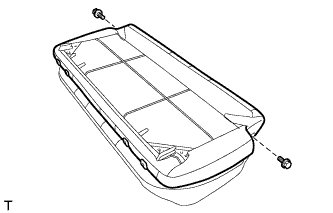
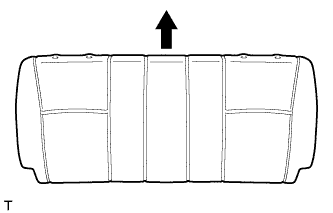
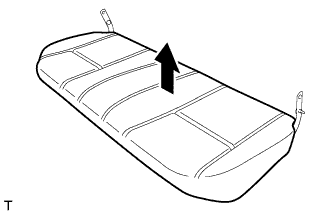
| 10. REMOVE REAR SEAT CUSHION |
Remove the 2 screws and 2 rear seat cushions.
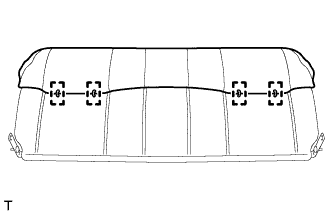
| 11. REMOVE NO. 1 SEAT CUSHION COVER |
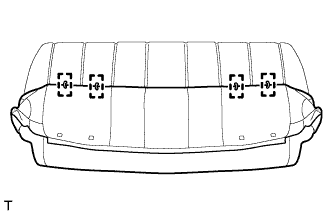
Remove the hog rings from the 2 wires of the No. 1 seat cushion cover.
Open the 2 fasteners.
Pull the fold seat stopper band assembly through the 2 holes of the No. 1 seat cushion cover.
Remove the hog rings and No. 1 seat cushion cover from the rear seat cushion pad.
| 12. REMOVE NO. 1 SEAT CUSHION PAD |
Remove the No. 1 seat cushion pad from the No. 1 seat cushion frame.
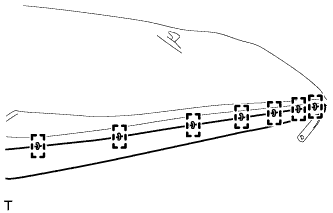
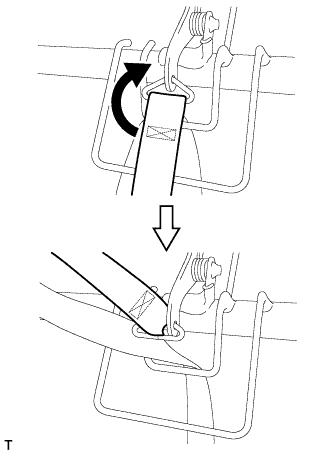
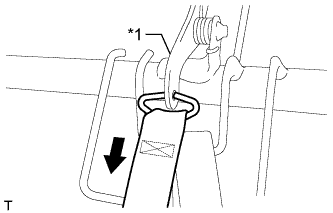
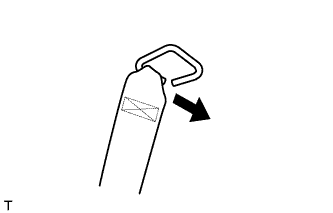
| 13. REMOVE FOLD SEAT STOPPER BAND ASSEMBLY |
Move the fold seat stopper band as shown in the illustration.
Using needle nose pliers, spread the connecting wire.
Move the connecting wire and fold seat stopper band assembly as shown in the illustration.
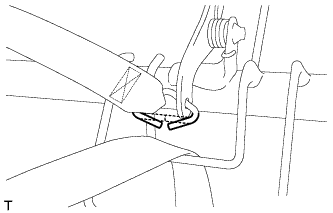
Pull and disconnect the connecting wire from the No. 1 seat cushion frame lock plate.
Text in Illustration*1
| No. 1 Seat Cushion Frame Lock Plate
|
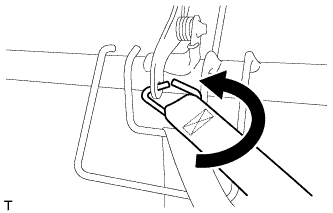
Remove the fold seat stopper band assembly from the connecting wire.