Navigation Ecu -- Installation |
| 1. INSTALL EXTENSION MODULE |
Connect the connector to install the extension module.
Connect the each connector to install the navigation wire.
| 2. INSTALL NO. 1 RADIO BRACKET |
w/o Navigation System:
Install the No. 1 radio bracket with the 3 screws.
w/ Navigation System:
Install the No. 1 radio bracket with the 5 screws.
| 3. INSTALL NO. 2 RADIO BRACKET |
w/o Navigation System:
Install the No. 2 radio bracket with the 3 screws.
w/ Navigation System:
Install the No. 2 radio bracket with the 5 screws.
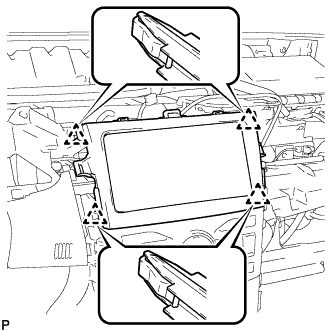
| 4. INSTALL RADIO AND DISPLAY RECEIVER WITH BRACKET |
Connect each connector.
Install the radio and display receiver with bracket with the 4 bolts.
- CAUTION:
- When installing the radio and display receiver with bracket, check that the wire harness and No. 2 antenna cord sub-assembly are not caught between the radio and display receiver with bracket and the instrument panel reinforcement assembly. Failure to do so may cause a short circuit.
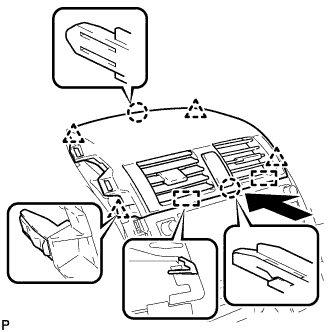
| 5. INSTALL CENTER INSTRUMENT CLUSTER FINISH PANEL SUB-ASSEMBLY |
Engage the 4 clips to install the center instrument cluster finish panel sub-assembly.
 |
| 6. INSTALL CENTER INSTRUMENT PANEL REGISTER ASSEMBLY |
Connect each connector.
w/o Daytime Running Light:
Engage the clamp.
Engage the 2 guides, 2 claws and 4 clips, and install the center instrument panel register assembly.
 |
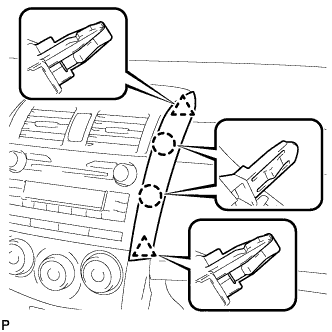
| 7. INSTALL INSTRUMENT PANEL FINISH PANEL END LH |
Engage the 2 claws and 2 clips, and then install the instrument panel finish panel end LH.
 |
| 8. INSTALL INSTRUMENT PANEL FINISH PANEL END RH |
Engage the 2 claws and 2 clips, and then install the instrument panel finish panel end RH.
 |
| 9. INSTALL LOWER INSTRUMENT PANEL FINISH PANEL LH |
Engage the 3 claws and clip, and then install the lower instrument panel finish panel LH.
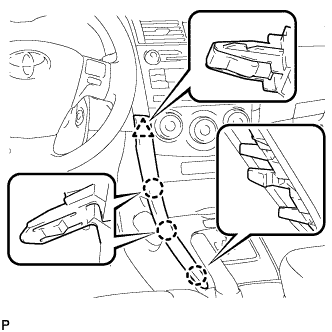 |
| 10. INSTALL LOWER INSTRUMENT PANEL FINISH PANEL RH |
Engage the 3 claws and clip, and then install the lower instrument panel finish panel RH.
 |