Back Door -- Disassembly |
| 1. REMOVE DOOR PULL HANDLE |
Detach the 4 claws and remove the door pull handle.
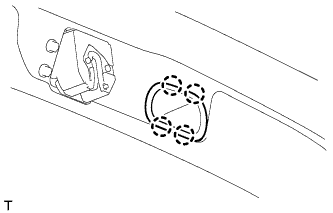 |
| 2. REMOVE BACK DOOR TRIM BOARD ASSEMBLY |
Detach the 16 clips and remove the back door trim board.
 |
| 3. REMOVE BACK DOOR LOCK ASSEMBLY |
Disconnect the connector and detach the clamp.
Disconnect the back door lock cable.

Text in Illustration *1 Back Door Lock Cable Assembly - -
Remove the 3 bolts and back door lock.
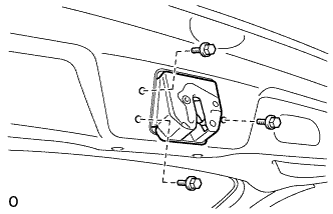 |
| 4. REMOVE BACK DOOR OUTSIDE HANDLE |
Remove the 2 nuts and back door outside handle.
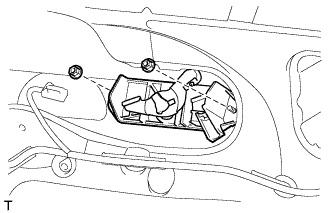 |
| 5. REMOVE REAR TELEVISION CAMERA ASSEMBLY (w/ Rear View Monitor System) |
Disconnect the connector.
 |
Remove the 2 nuts and rear television camera assembly.
| 6. REMOVE BACK DOOR OUTSIDE GARNISH |
w/ Rear View Monitor System:
Remove the nut.
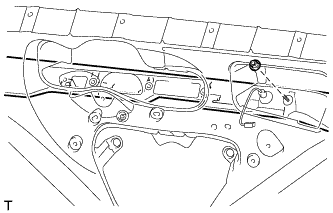 |
w/o Rear View Monitor System:
Remove the 3 nuts.
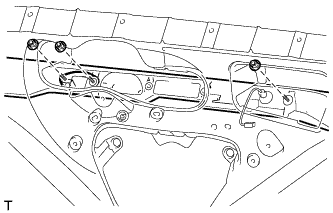 |
Put protective tape around the back door outside garnish.
Text in Illustration *1 Protective Tape
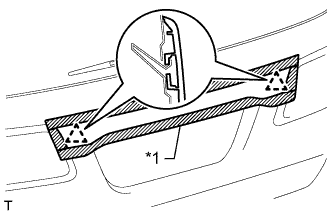 |
Detach the 2 clips and remove the back door outside garnish.
| 7. REMOVE REAR LIGHT ASSEMBLY LH |
Disconnect the connector.
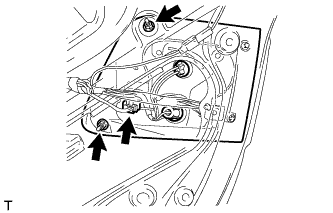 |
Remove the 2 nuts.
Put protective tape around the rear light assembly LH.
Text in Illustration *1 Protective tape
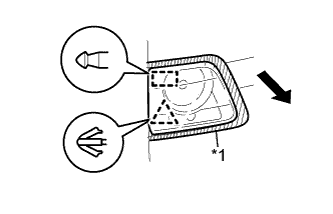 |
Detach the clip and pin as shown in the illustration.
Remove the rear light assembly LH.
| 8. REMOVE REAR LIGHT ASSEMBLY RH |
- HINT:
- Use the same procedure described for the LH side.
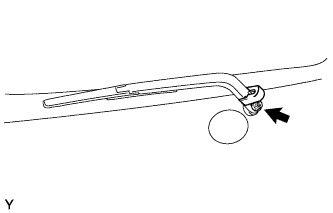
| 9. REMOVE REAR WIPER ARM AND BLADE ASSEMBLY |
Open the wiper arm head cap..
 |
Remove the nut and the arm and blade.
 |
| 10. REMOVE REAR WIPER MOTOR ASSEMBLY |
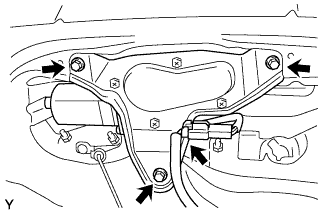 |
Disconnect the connector.
Remove the 3 bolts and wiper motor.
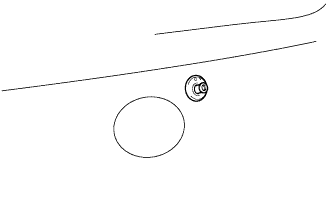
| 11. REMOVE REAR WIPER MOTOR GROMMET |
Remove the rear wiper motor grommet.
 |
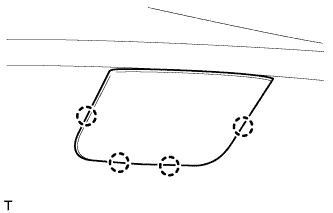
| 12. REMOVE NO. 2 BACK DOOR SERVICE HOLE COVER |
Detach the 4 claws.
 |
Disconnect the connector.
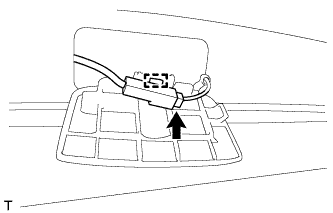 |
Detach the clamp and remove the No. 2 back door service hole cover.
| 13. REMOVE REAR SPOILER |
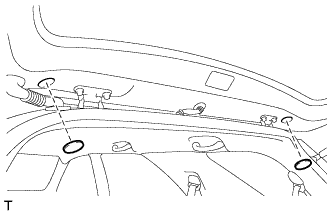
Remove the 2 grommets.
 |
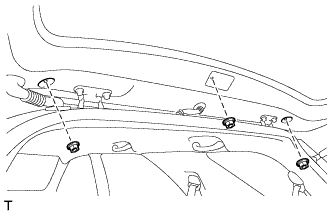
Remove the 3 nuts.
 |
Put protective tape around the rear spoiler.
Text in Illustration *1 Protective Tape
 |
Detach the 4 clips and remove the rear spoiler.
| 14. REMOVE REAR WASHER NOZZLE SUB-ASSEMBLY |
Disconnect the washer hose.
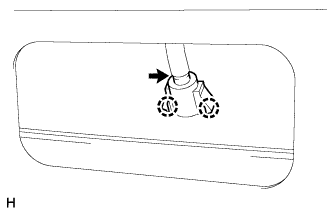 |
Detach the 2 claws and remove the rear washer nozzle.
| 15. REMOVE BACK DOOR GLASS CHANNEL LH |
Using a clip remover, remove the 2 clips.
 |
Using a screwdriver, detach the tape and remove the channel.
- HINT:
- Tape the screwdriver tip before use.
| 16. REMOVE BACK DOOR GLASS CHANNEL RH |
- HINT:
- Use the same procedure described for the LH side.
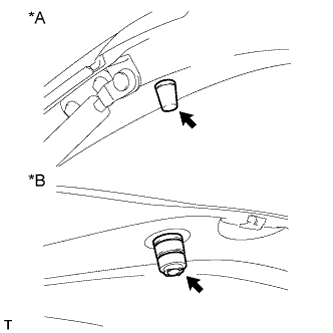
| 17. REMOVE BACK DOOR PANEL CUSHION |
- HINT:
- Use the same procedure for both back door panel cushions.
Remove the 2 back door panel cushions.
Text in Illustration *1 for Upper Side *2 for Lower Side
 |
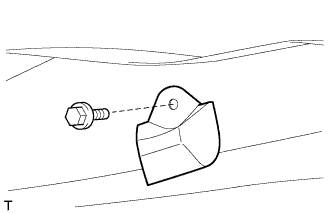
| 18. REMOVE BACK DOOR LOWER STOPPER |
- HINT:
- Use the same procedure for both back door lower stoppers.
Remove the bolt and back door lower stopper.
 |
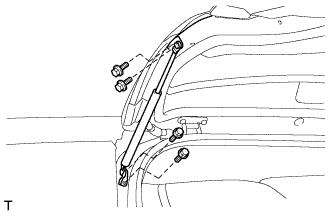
| 19. REMOVE BACK DOOR STAY ASSEMBLY LH |
Remove the 4 bolts and back door stay.
- CAUTION:
- Remove the back door stay while holding the back door.
 |
| 20. REMOVE BACK DOOR STAY ASSEMBLY RH |
- HINT:
- Use the same procedure described for the LH side.