Headlight Dimmer Switch Removal
REMOVE STEERING WHEEL ASSEMBLY
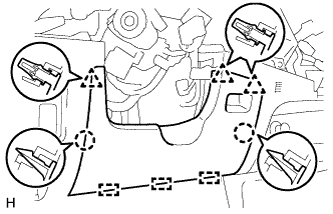
REMOVE LOWER INSTRUMENT CLUSTER FINISH PANEL SUB-ASSEMBLY
REMOVE LOWER STEERING COLUMN COVER
REMOVE UPPER STEERING COLUMN COVER
REMOVE SPIRAL CABLE SUB-ASSEMBLY
REMOVE WIPER AND WASHER SWITCH ASSEMBLY
REMOVE HEADLIGHT DIMMER SWITCH ASSEMBLY
Headlight Dimmer Switch -- Removal |
| 1. REMOVE STEERING WHEEL ASSEMBLY |
(HILUX_TGN26 RM0000033RT06CX.html)
| 2. REMOVE LOWER INSTRUMENT CLUSTER FINISH PANEL SUB-ASSEMBLY |
Detach the 2 claws, 3 clips and 3 guides and remove the lower instrument panel finish panel.
| 3. REMOVE LOWER STEERING COLUMN COVER |
Remove the 3 bolts and lower cover.
| 4. REMOVE UPPER STEERING COLUMN COVER |
Detach the claw and remove the upper cover.
| 5. REMOVE SPIRAL CABLE SUB-ASSEMBLY |
Disconnect the connectors.
- NOTICE:
- When handling the airbag connector, do not damage the airbag wire harness.
Detach the 3 claws and remove the spiral cable sub-assembly.
- NOTICE:
- Do not replace the spiral cable sub-assembly when the ignition switch is ON and the battery cable is connected.
- Do not rotate the spiral cable sub-assembly when the ignition switch is ON and the battery cable is connected.
- Make sure the steering wheel assembly is installed and centered before rotating the steering angle sensor when performing steering angle sensor operation inspections (inspecting for abnormal noise, diagnosis inspections, etc.).
- Do not remove the steering angle sensor from the spiral cable sub-assembly.
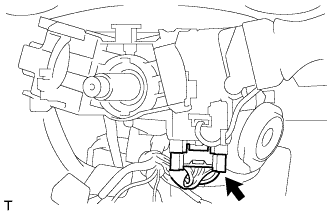
| 6. REMOVE WIPER AND WASHER SWITCH ASSEMBLY |
Disconnect the connectors.
Detach the claw and remove the windshield wiper switch.
- NOTICE:
- Do not push the claw with excessive force as damage may occur.
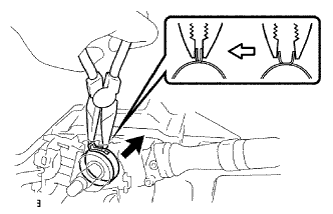
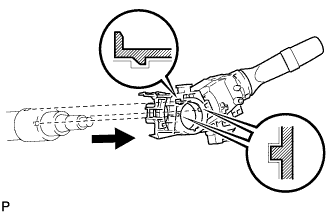
| 7. REMOVE HEADLIGHT DIMMER SWITCH ASSEMBLY |
Disconnect the connector.
Using needle-nose pliers, remove the band clamp as shown in the illustration.
Detach the claw to remove the headlight dimmer switch.
- NOTICE:
- If the claw is pressed forcefully, it will break.